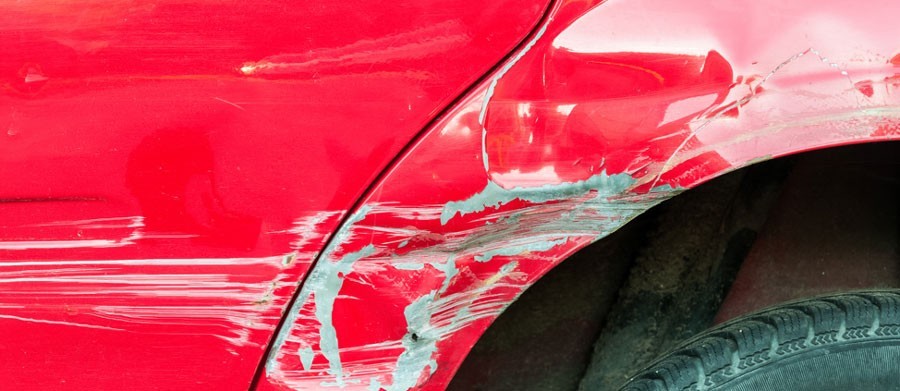
How to Repair Chipped Paint on Your Car Like a Pro
A small chip in your car’s paint might not seem like a big deal—until rust sets in or it starts to spread. Fixing chipped paint isn’t just about appearance; it’s about protection. But can you really do it yourself and get pro-level results? With the right approach, the answer might surprise you. Here’s how to get started.
Fast, affordable car window repair in Brooklyn—Call us today! 📞

Why It’s Important to Repair Paint Chips Quickly
Repairing chipped paint on your car right away is about more than just keeping it looking good—it’s also crucial for preserving the vehicle’s structural integrity and resale value. When the paint is compromised, the bare metal underneath is exposed to moisture, road salts, and other harmful environmental elements.
Even the smallest chip can let water seep through, eventually leading to rust and corrosion. If left untreated, rust can spread beneath the surface, damaging body panels and creating the need for costly repairs. In severe cases, it may even reach structural components, potentially affecting the safety of your vehicle.
By addressing paint chips early, you help protect your car’s longevity, maintain its value, and avoid more extensive damage down the road. It’s a small fix that can make a big difference in the long run—both for your car’s appearance and your wallet.
Tools and Materials You’ll Need
Before starting a DIY chipped paint repair, it’s essential to gather all the necessary tools and materials. Having everything on hand not only makes the process smoother but also helps you achieve a more professional-looking finish that lasts.
Here’s what you’ll need:
- Touch-up paint – Make sure it matches your car’s color code exactly.
- Primer – Needed for deeper chips that expose bare metal.
- Clear coat – To seal and protect the repaired area.
- Fine-grit sandpaper – Around 1500–2000 grit for smoothing the surface.
- Rubbing alcohol or automotive wax and grease remover – For cleaning the chip before applying paint.
- Microfiber cloths – For cleaning and drying the surface without leaving lint.
- Small brushes or toothpicks – Useful for precise paint application in small chips.
- Masking tape and painter’s paper (optional) – To protect the area around the chip while you work.
- Polishing compound and wax – For a smooth, finished look after the repair.
Using quality materials helps the repair blend more naturally with the surrounding paint and ensures it can withstand exposure to weather and road conditions. With these tools ready, you’ll be well-prepared to tackle the repair with confidence.
Step-by-Step Guide to Repair Chipped Paint on a Car
Repairing chipped paint on your car doesn’t have to be complicated. With the right materials and a bit of patience, you can restore your car’s appearance and protect it from further damage. Follow these steps for a clean, effective repair:
Clean the Area
Start by washing the chipped area thoroughly and drying it with a clean cloth. Use rubbing alcohol to remove any wax, oils, or debris, ensuring a clean surface for the repair materials to adhere to.
Sand the Chip
Using fine-grit sandpaper, gently smooth the edges of the paint chip and remove any visible rust. Take care not to scratch the surrounding paint—only focus on the damaged area.
Apply Primer (If Needed)
If the chip has exposed bare metal, apply a thin layer of automotive primer using a small brush or toothpick. Let the primer dry completely before moving to the next step.
Apply Touch-Up Paint
Use a color-matched touch-up paint to carefully fill in the chip. Apply the paint in thin layers, allowing each layer to dry fully before adding the next. This helps build up the paint evenly and improves the final finish.
Apply Clear Coat
Once the touch-up paint has dried, seal the area with a clear coat. This not only protects the paint but also helps restore the original gloss. Let the clear coat cure completely before handling or washing the area.
Polish and Wax
After a few days of drying time, gently polish the repaired area to blend it with the surrounding paint. Finally, apply a layer of wax to add protection and shine.
This method works well for minor chips and scratches, helping your car maintain its appearance while protecting the surface from rust and further damage.
When to DIY vs. Visit a Professional
Deciding whether to handle chipped paint repairs yourself or visit a professional depends on the size, depth, and location of the damage. Comprehending the difference can save you time, money, and help maintain your vehicle’s appearance and value.
DIY Repairs
If the paint chip is small, shallow, and hasn’t gone through to the primer or metal, it’s usually safe to take the DIY route. These types of minor imperfections can be touched up with basic tools, a steady hand, and some patience. DIY repairs are cost-effective and great for addressing simple cosmetic flaws before they worsen.
See a Professional When:
- The damaged area is large, deep, or rust has started forming
- You want a perfect color match and seamless finish (professionals use blending and baking techniques)
- The chip is on a plastic or fiberglass panel, which may need special materials
- The damage is near structural components, sensors, or cameras
In these cases, a professional body shop is your best option. They have the tools, training, and technology—like computerized paint matching and spray booths—to ensure the repair is high-quality, durable, and preserves both the appearance and safety of your vehicle.
