How Do You Remove a Car Stereo: Step-by-Step Guide
Ever wondered how do you remove a car stereo without damaging your dashboard, wiring, or the unit itself? Many drivers hesitate to attempt it, fearing costly mistakes or complicated steps. The truth is, with the right approach, the process is simpler than it seems—but there are key details you can’t afford to miss. Let’s walk through the steps to do it safely and easily.
Find trusted pros for automobile stereo repair now.
TL;DR:
Removing a car stereo safely requires the right tools, starting with disconnecting the battery to prevent electrical or airbag risks. Use plastic trim tools to remove panels without damage, then unscrew and carefully slide out the stereo while keeping fasteners organized. Disconnect wiring and the antenna by releasing their tabs properly. For vehicles with integrated controls, SRS wiring, or high-voltage systems, it’s best to call a professional installer.
What Tools are Needed to Remove a Car Stereo?
Taking out a car stereo might seem straightforward, but without the right tools, you risk scratching your dashboard, losing tiny screws, or even damaging electrical connectors. That’s why preparation is key. Using purpose-built tools not only makes the job smoother but also protects your vehicle’s interior and ensures that every piece goes back together correctly. Below are the essential items you’ll want on hand before you start.
- Plastic trim/pry tools & panel clip removers
- Screwdrivers & nut drivers
- Radio release keys or small pick tools
- Needle-nose pliers
- Flashlight or headlamp
- Painter’s tape & small containers
- Basic PPE (eye protection & gloves)
Disconnect the Car Battery
Before beginning any work on your stereo, it’s important to make safety the first priority. The very first step is disconnecting the negative (–) battery cable. This prevents accidental electrical shorts and reduces the risk of triggering the airbag (SRS) system while you’re working near the dash and wiring.
- Order of disconnect – Always remove and isolate the negative terminal first, as specified in service procedures and bulletins.
- Wait time for SRS discharge – Even after the cable is disconnected, the SRS and restraint system controllers retain power briefly. A conservative rule is to wait at least 2 minutes before touching wiring near airbags, since many systems can remain active for 60–90 seconds.
- Use proper PPE – Wear eye protection and avoid metal jewelry or tools that could bridge the battery terminals. Safety guidelines consistently emphasize protecting your eyes and face when handling batteries.
Remove the Trim and Dashboard Panels
Taking out the trim and panels is a careful process that protects your interior and makes reassembly straightforward. Before starting, place painter’s tape on vulnerable edges to prevent scratches, and snap a few quick reference photos—these will save time when it’s time to put everything back together.
When loosening panels, use plastic trim tools designed for interior work. Insert the tool near known clip points and pry gently to release the snap-fit tabs. Avoid twisting too hard in one spot, since this can easily crack the material. Working with non-marring tools keeps the finish intact and makes the job smoother.
It’s also important to follow the correct sequence. Most radios sit behind a bezel and one or more trim pieces, so remove the bezel first, then take out any sub-panels such as HVAC or vent surrounds that overlap the stereo. As you do this, be mindful of nearby SRS components like passenger or curtain airbags. With the battery disconnected and the proper wait period observed, you can proceed safely, but avoid striking or putting pressure on areas connected to the airbag system.
Unscrew and Slide Out the Stereo
Once the trim is removed, the next step is to identify how the stereo is mounted. Some units use a DIN sleeve, which requires inserting radio release keys to disengage the tabs before sliding the unit out. Others are side-bracketed (ISO-style), where you’ll need to remove the visible screws—commonly Torx or Phillips—on each side of the radio stack before pulling the stereo forward.
As you slide the unit out, support it carefully. Avoid yanking, since the wiring harnesses and antenna leads behind the stereo are short and can be damaged if stressed. Take your time, keeping one hand steadying the unit while the other guides it forward.
Finally, stay organized with your fasteners. Label screws by their panel or location and keep them in small containers. This simple step ensures that reassembly is straightforward and prevents confusion later in the process.
Disconnect the Wiring and Antenna Cable
Before removing the stereo completely, you’ll need to disconnect the wiring and antenna connections carefully. Each connector has its own lock or tab, and forcing them can lead to damage.
- Power and speaker harness – Aftermarket units usually have standardized plugs; factory stereos often use proprietary connectors. Always depress the locking tab before pulling.
- Antenna lead – Typically a single coaxial connector; press the latch (if present) and pull straight back to avoid bending the pin.
- Accessory modules – USB hubs, GPS antennas, and telematics mics may have delicate connectors—release locks instead of pulling on wires.
- Safe handling – Even with the battery disconnected, wear protective gear and keep metal tools away from the battery area to avoid risks.
When to Call a Professional Installer
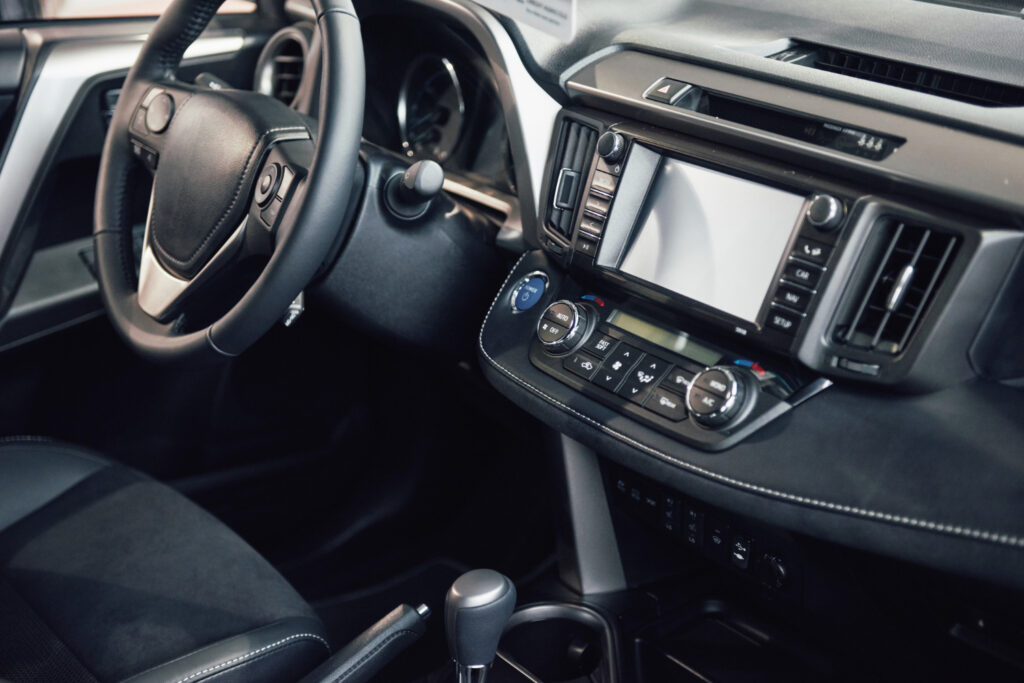
Modern vehicles (2020+) often tie climate controls, settings, and safety alerts into the infotainment screen. Keeping these features requires special adapters or programming, so a professional can ensure nothing critical is lost.
Airbag/SRS wiring runs behind many radio bezels, marked with yellow connectors or SRS labels. Because disturbing these systems is risky, it’s safer to let a trained technician handle the work.
In EVs and hybrids, high-voltage systems run near the dash. If you see orange cables or lack proper PPE for battery safety, call a professional installer to avoid serious hazards.
Key Takeaways
- Proper tools matter – Use trim tools, screwdrivers, radio release keys, pliers, flashlight, tape, containers, and PPE to protect both the vehicle and yourself during stereo removal.
- Disconnect the battery first – Always remove the negative terminal and wait at least 2 minutes for SRS systems to discharge; wear protective gear to avoid shorts or injury.
- Careful trim removal – Protect edges with tape, use plastic tools near clip points, and follow the correct removal sequence while avoiding airbag areas.
- Stereo removal steps – Identify whether the unit uses a DIN sleeve or side brackets, then release or unscrew it carefully. Support the stereo while sliding it out and keep screws organized.
- Wiring disconnection – Depress tabs before pulling connectors, handle the antenna coax straight back, and be gentle with USB, GPS, or mic modules to prevent damage.
- When to call a pro – If your vehicle integrates climate controls, safety alerts, or settings into the screen, involves airbag wiring, or has high-voltage EV systems, it’s safest to hire a professional installer.
Reviewed by Carlos Jimenez – Mechanic