How Long Does a Car Battery Replacement Take?
You expect a quick fix, but is car battery replacement really as fast as it sounds? Sometimes it’s a simple in-and-out job, and other times it takes longer than drivers anticipate. The difference often comes down to details most people overlook. Knowing what affects the timing can save you frustration, help you plan ahead, and keep your day on track.
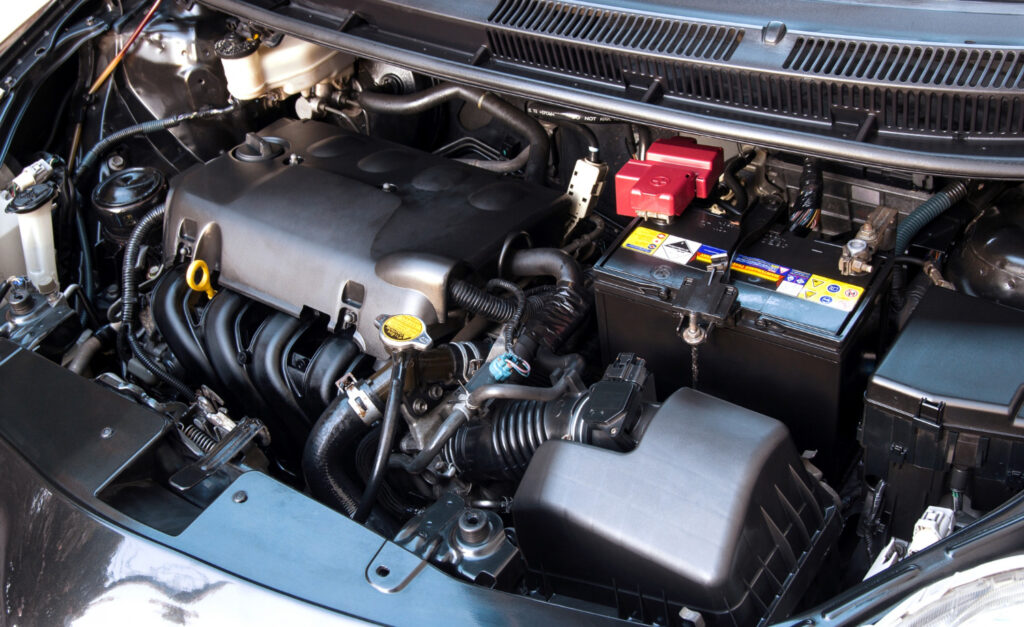
Compare replacement durations at Battery Service in Brooklyn.
TL;DR:
Car battery replacement is usually quick, but the time it takes depends heavily on preparation. Having the right tools, choosing the correct battery, clearing the work area, and following safety steps all prevent delays. Proper setup and final connection checks help ensure a smooth, efficient replacement and reduce the risk of mistakes or future electrical issues.
How Can You Prepare for a Faster Battery Replacement?
Preparing ahead of time is one of the most effective ways to speed up a car battery replacement. Taking a few moments before you start, such as gathering the necessary tools and comprehending basic safety steps, can make the process smoother and help prevent avoidable delays. Good preparation reduces confusion once the hood is open and minimizes the risk of mistakes that slow the job down.
Planning also helps create a safer and more efficient work environment. Simple steps, like parking the vehicle on a flat surface and engaging the parking brake, make it easier to access and reduce the need to stop and reposition the car mid-task. When everything is set up in advance, the replacement process tends to move faster and with fewer interruptions.
Gathering Tools and Equipment in Advance
Preparing your tools ahead of time helps keep the battery replacement process quick and uninterrupted. When everything is within reach, you avoid unnecessary pauses that can slow the job down and add frustration.
Before starting, make sure you have the following items ready:
- Safety gear: Protective gloves and safety glasses to protect against battery acid and sparks
- Wrench or socket set: Most terminals use a standard bolt, often around 10 mm
- Battery terminal cleaning tools: A wire brush or terminal cleaner to remove corrosion and ensure good contact
- Lifting strap or helper: Car batteries are heavy, typically 20–40 pounds, and easier to handle with assistance
- Rags and cleaning solution: Shop towels and a baking soda and water mixture to clean corrosion and keep the area tidy
Having these tools prepared in advance prevents mid-job delays and helps the replacement go more smoothly from start to finish.
Choosing the Right Battery for Your Car
Selecting the correct replacement battery ahead of time can save a lot of time and frustration on replacement day. When it doesn’t fit properly or has the wrong electrical specifications can slow the process down and may even cause problems with the vehicle’s electrical system.
Here’s what to check before buying:
- Group size — this determines the battery’s physical dimensions and terminal layout. It must match the manufacturer’s specification for your vehicle.
- Cold Cranking Amps (CCA) — measures the battery’s ability to start the engine in cold conditions. Choosing a rating that meets or slightly exceeds the original specification is ideal.
- Reserve Capacity (RC) — shows how long it can supply power if the charging system fails.
- Battery type — your vehicle may require a specific design, such as lead-acid or AGM. Many modern vehicles specify AGM batteries for improved vibration resistance.
To avoid incorrect purchases and wasted time, always consult your vehicle’s owner’s manual or check the label on the existing one before buying a replacement.
Clearing the Work Area Around the Vehicle
Before lifting the hood, it’s important to prepare a clean and unobstructed work area around the vehicle. A well-organized space helps the replacement process move faster and reduces the risk of accidents or unnecessary delays.
This preparation includes parking on a level surface to ensure stability and easier access to the battery tray. Make sure to remove loose objects such as tools, bottles, or debris from in and around the vehicle, as these can create hazards or slow your progress. Good lighting is also essential, allowing you to clearly see connections and avoid mistakes.
Finally, open the hood fully and secure it before starting. Poor access or a hood that won’t stay open can make the job more difficult and time-consuming. A clutter-free workspace allows you to move safely and efficiently, especially when handling heavy batteries and metal tools.
Following Safety Steps Before Starting
Safety isn’t just about protection, it also helps the replacement go faster by preventing injuries, interruptions, and costly mistakes. Taking a few moments to follow basic safety steps before you begin keeps the process smooth and controlled.
Before touching the battery, make sure you do the following:
- Turn the ignition off and remove the key to prevent accidental electrical draw or surges
- Wear protective gloves and goggles to protect against acid, sparks, or slipping tools
- Disconnect the negative terminal first, which lowers the risk of short circuits—never let a metal tool touch both terminals at once
- Avoid open flames or smoking near the battery, since hydrogen gas emitted by batteries is flammable
- Ensure proper ventilation, especially in a garage, by opening doors or windows to allow airflow
Spending a few minutes on these safety checks helps prevent accidents and delays, ultimately making the entire replacement process quicker and more efficient.
Checking Connections and Testing After Installation
Once the new one is installed, taking a few moments to double-check your work helps ensure everything is functioning correctly before closing the hood. These final checks can prevent small mistakes that might cause electrical problems later.
Start by tightening the terminals correctly, they should be secure, but not over-tightened, as excessive force can damage the posts. Make sure you reconnect the cables in the proper order, attaching the positive (red) terminal first and the negative (black) terminal second.
Next, test the vehicle’s electrical systems by starting the engine and checking the headlights, radio, interior lights, and dashboard electronics. Normal operation confirms a successful installation. As an optional but recommended step, you can check the battery’s voltage, which should read about 12.6 volts with the engine off. These steps help ensure there are no loose connections or errors that could leave you stranded later.
Key Takeaways.
- Preparation is the biggest factor in saving time
Car battery replacement speed depends less on the task itself and more on preparation. Planning ahead reduces confusion, interruptions, and mistakes once the hood is open. Simple setup steps help the job move faster from start to finish. - Having the right tools ready prevents delays
Gathering tools and safety gear in advance avoids stopping mid-job. Basic items like gloves, wrenches, cleaning tools, and lifting help streamline the process. Everything within reach keeps the replacement smooth and uninterrupted. - Choosing the correct battery avoids setbacks
A battery with the wrong size or specifications can slow or stop the job entirely. Verifying group size, CCA, reserve capacity, and type is essential. Checking the manual or existing battery label prevents wasted time and returns. - A clean, safe workspace improves efficiency
Clearing obstacles, ensuring good lighting, and securing the hood improves access. Parking on a level surface adds stability and reduces repositioning delays. An organized area allows safer and quicker movement during installation. - Final safety checks and testing prevent future problems
Following safety steps reduces injury risk and costly errors. Proper reconnection, terminal tightening, and system testing confirm success. These checks help ensure the car is ready to go without surprises later.
FAQs:
How long should car battery replacement take?
With proper preparation, tools ready, and the correct battery on hand, a replacement is typically a quick job. Delays usually come from poor setup, incorrect parts, or safety issues.
What are signs of a dying car battery?
Common signs include difficulty starting the engine, electrical issues, and the need for frequent checks or adjustments after installation. These symptoms often prompt the need for replacement.
Do you have to reprogram a car after changing the battery?
The blog does not specify reprogramming requirements. Whether reprogramming is needed depends on the vehicle and is not covered in this content.
How often should I replace my car battery?
Most car batteries are typically replaced every three to five years, depending on usage, conditions, and overall battery health.
You May Also Like:
Can You Jump Start a Car Without a Battery? Here’s the Truth
What Car Part Charges the Battery and How It Works
What Are the Best Car Battery Brands? Top List
Reviewed by Carlos Jimenez – Mechanic