How Long Should a Clutch Replacement Take for Your Vehicle
Your clutch starts slipping, gears feel off, and suddenly one question matters more than any other: how long should a clutch replacement take? The answer isn’t as simple as a number on a clock. From vehicle type to hidden complications, several factors can quietly add hours, or save them. Let’s uncover what really determines the timeline.
Trust experts for Clutch service and repair in Brooklyn.
TL;DR:
A clutch replacement usually takes 3–8 hours, but the exact time depends on vehicle design, complexity, worn components, technician experience, and parts availability. The process includes inspection and preparation, removing the old clutch and transmission, precisely installing and aligning the new one, and finishing with final checks and a road test to ensure safe, smooth operation.
What Affects Clutch Replacement Time in Cars?
The replacement is considered a labor-intensive repair because the clutch sits deep between the engine and transmission. For most vehicles, professional technicians report an average repair time of 3–8 hours, although more complex vehicle designs can extend this timeframe. The overall duration depends on multiple variables rather than a fixed number.
One essential factor is vehicle design and clutch system complexity. Some vehicles require removing axles and additional components to access the clutch, which increases labor time. Front-wheel-drive layouts and transverse engines often take longer, while simpler layouts may allow easier access. Likewise, standard single-disc clutches are generally faster to replace than advanced systems that need specialized tools and careful handling.
Additional worn parts, mechanic experience, and parts availability also affect replacement time. If components such as the flywheel, bearings, or hydraulic parts show wear, extra labor is required. An experienced technician with proper equipment can work more efficiently, while delays may occur if the correct kit is not immediately available, particularly for less common vehicles.
Inspecting the Vehicle and Identifying Issues
Before replacing it, technicians begin with a careful inspection to confirm it is truly the source of the problem and to identify any related issues that could affect repair time or labor.
During this inspection, they typically:
- Safely lift and support the vehicle to access the underside
- Check clutch operation for slipping, hard shifting, or unusual noises
- Inspect hydraulic systems, linkages, and related components for wear or damage
- Use diagnostic tools or perform test drives to rule out other drivetrain issues
This inspection helps prevent unnecessary repairs and allows for a more accurate labor estimate, especially if additional components need attention.
Preparing Tools and Replacement Parts
Proper preparation helps ensure the replacement proceeds smoothly and efficiently. Before disassembly begins, technicians gather all required tools and verify that the correct parts are on hand.
Preparation typically includes:
- A complete kit, including the disc, pressure plate, and release bearing
- Transmission jacks and lifting equipment for safe handling
- Alignment tools to ensure proper installation
- Basic mechanic tools matched to the vehicle’s fasteners
Having tools and parts ready in advance helps avoid delays once the transmission is removed and keeps the repair on schedule.
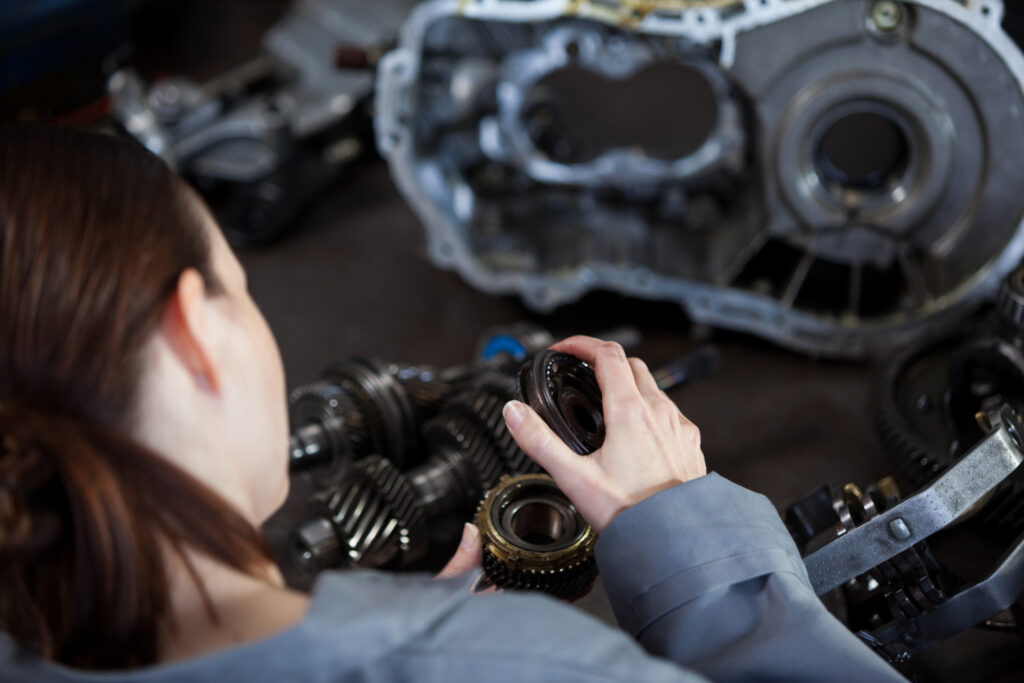
Removing The old Clutch Components
Once the vehicle has been fully inspected and prepared, the next step is removing the old components. This phase is often the most time-consuming part of the process because the clutch sits behind the engine inside the bellhousing, requiring careful and methodical disassembly.
The process begins by disconnecting the battery along with any linked cables or fluid lines to ensure safety during the repair. After that, the transmission is removed. This step typically includes draining the transmission fluid, unbolting mount brackets, and using transmission jacks to carefully lower the gearbox out of the vehicle.
With the transmission out of the way, the mechanic can access the assembly. The disc, pressure plate, and release bearing are then unbolted and removed together. Once these components are taken out, the flywheel is inspected to determine whether it shows signs of wear or hotspots that may require resurfacing or replacement.
Installing the New Clutch and Testing Alignment
Installing the new one is a critical stage that requires precision to ensure smooth operation and long-term reliability. Proper preparation and accurate alignment help prevent performance issues later on.
Main steps in this stage include:
- Flywheel preparation: If the flywheel was replaced or resurfaced, technicians ensure the surface is clean and free of oil or debris
- Clutch alignment: A special alignment tool is used to center the disc on the crankshaft pilot bearing so the transmission input shaft can slide in smoothly
- Pressure plate installation: The pressure plate is bolted in a crisscross pattern to promote even torque and proper seating
Careful alignment and even bolting are essential, as mistakes at this stage can lead to early clutch wear, chatter, or difficulty shifting.
Performing Final Checks and Road Testing
After the new one is installed and the transmission is re-mounted, technicians carry out a series of final checks to ensure everything is functioning as intended. This stage focuses on confirming that all systems affected during the repair are properly restored before the vehicle is returned to service.
As part of this process, the hydraulic fluid is refilled and the system is bled if necessary. Technicians also check pedal feel and verify that clutch engagement and disengagement occur smoothly. All fasteners are then tightened according to manufacturer torque specifications to ensure secure and reliable operation.
The final step is a road test, which allows technicians to confirm that the clutch engages smoothly, shifts correctly through all gears, and produces no unusual noises or vibrations. This testing phase verifies that the job was completed correctly and that the vehicle is safe for everyday use.
Key Takeaway
- Clutch replacement time varies by vehicle and complexity
A replacement typically takes 3–8 hours for most vehicles. More complex designs and systems can extend this timeframe.
There is no single fixed duration that applies to every car. - Vehicle design and clutch type significantly affect labor time
Access to the piece depends on drivetrain layout and engine orientation. Front-wheel-drive and advanced systems often take longer. Simpler layouts and standard clutches are usually quicker to service. - Inspection and preparation help prevent delays
Technicians inspect the vehicle to confirm it is the real issue. They check related components and gather all tools and parts beforehand. This step improves accuracy and keeps the repair on schedule. - Removing and installing the clutch requires careful precision
Removing the old one is often the most time-consuming stage. Proper alignment and even pressure plate installation are critical. Mistakes can lead to wear, noise, or shifting problems later. - Final checks and road testing confirm repair quality
Technicians verify fluid levels, pedal feel, and fastener torque. A road test ensures smooth engagement and correct shifting. This phase confirms the vehicle is safe and ready for daily use.
FAQs:
How long does a clutch replacement take?
For most vehicles, a clutch replacement typically takes 3–8 hours. The exact time depends on vehicle design, complexity, and whether additional parts need attention.
How long is labor for a clutch change?
Labor usually falls within the 3–8 hour range, though more complex vehicles or added repairs can increase labor time.
Is fixing a clutch a big job?
Yes. Replacement is considered a labor-intensive repair because it is located deep between the engine and transmission and requires careful disassembly and reinstallation.
Can you drive on the highway with a new clutch?
Yes. After final checks and a successful road test, the vehicle is confirmed to be safe for everyday use, including highway driving.
What to expect after replacing a clutch?
You can expect smooth engagement, proper shifting through all gears, and no unusual noises or vibrations once testing confirms the repair was completed correctly.
You May Also Like:
How Do Clutch Plates Work in Your Car?
What Are the Signs That My Clutch Is Failing?
Where to Get Clutch Replaced Near Me?
Reviewed by Carlos Jimenez – Mechanic